About This Recipe
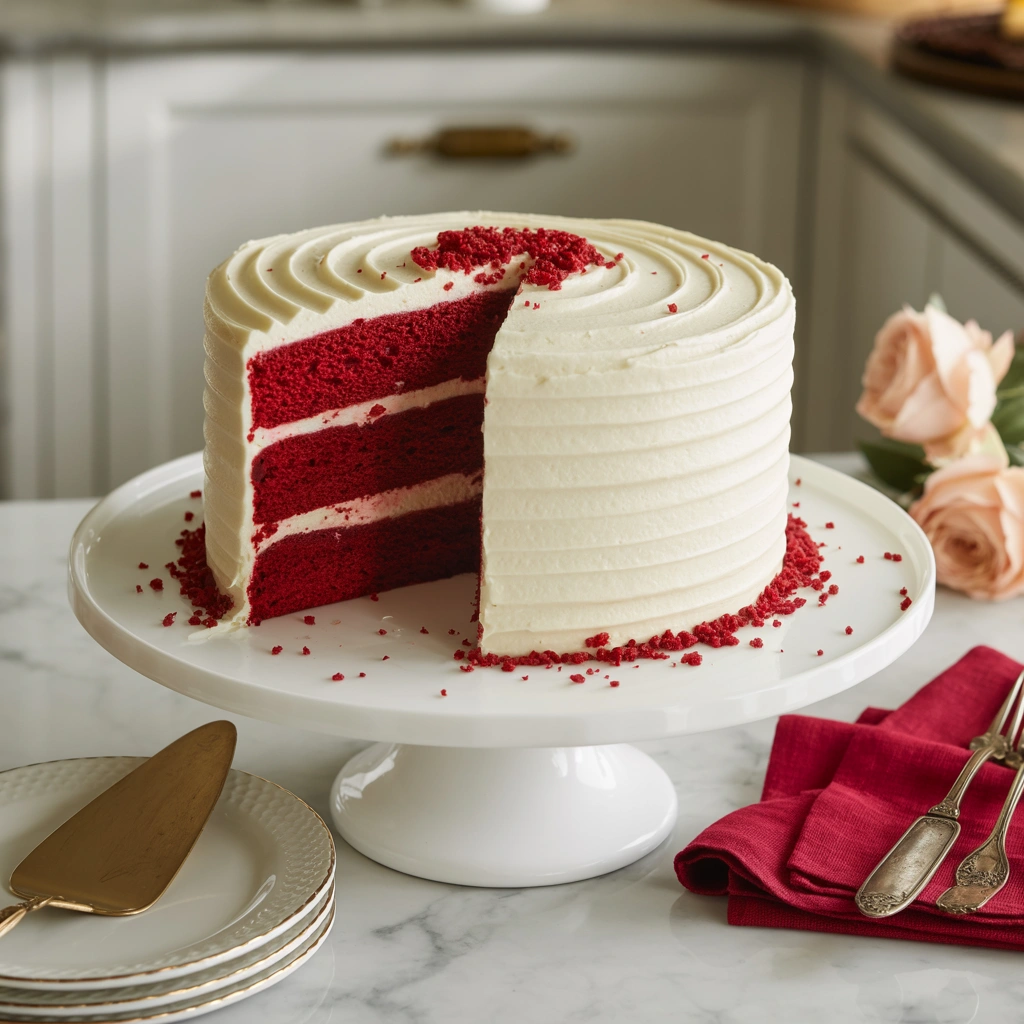
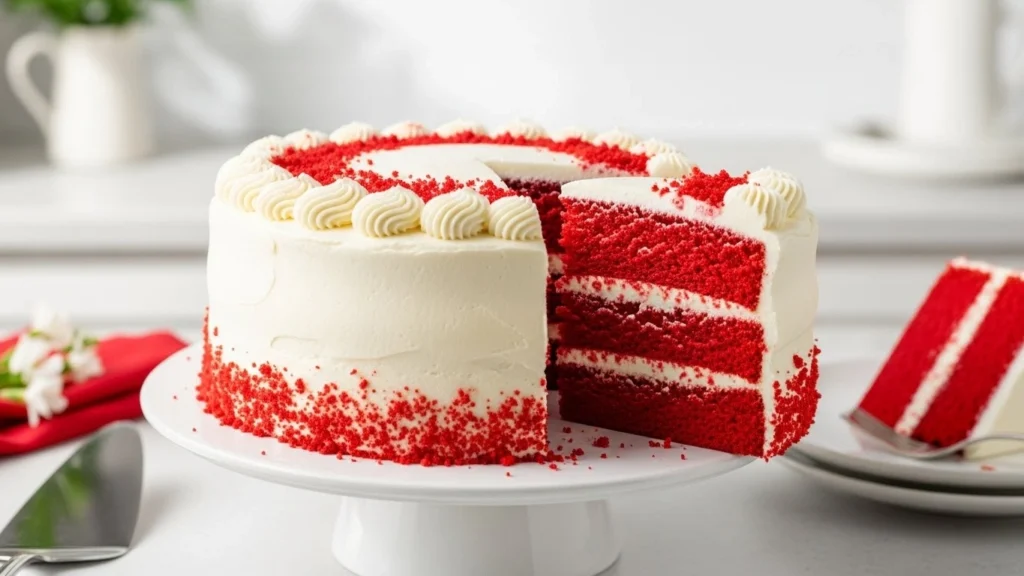
Red velvet cake is a true showstopper: striking red layers, silky cream cheese frosting, and a subtle cocoa-vanilla flavor that’s both familiar and unique.
This version gives you:
- Texture
- Soft, tender, velvety crumb
- Moist but not dense
- Smooth, tangy frosting
- Flavor
- Light cocoa and vanilla
- Gentle tang from buttermilk and vinegar
- Just-sweet-enough cream cheese frosting
It’s perfect for birthdays, Christmas, Valentine’s Day, anniversaries, or any celebration that deserves a dramatic, bakery-style layer cake.
Ingredients: What You’ll Need
Red Velvet Cake Layers
Makes two 8- or 9-inch rounds
- 2½ cups (300 g) all-purpose flour
- 2 tbsp (12 g) unsweetened cocoa powder (natural)
- 1 tsp baking soda
- 1 tsp fine sea salt
- 1½ cups (300 g) granulated sugar
- ½ cup (115 g) unsalted butter, softened
- ½ cup (120 ml) neutral oil (canola, vegetable, or light olive)
- 2 large eggs, room temperature
- 2 tsp vanilla extract
- 1 cup (240 ml) buttermilk, room temperature
- 2–3 tbsp red liquid food coloring
- or 1–2 tsp red gel coloring
- 1 tsp white vinegar or apple cider vinegar
Cream Cheese Frosting
- 12 oz (340 g) cream cheese, softened (block, not spreadable tub)
- ¾ cup (170 g) unsalted butter, softened
- 4–5 cups (480–600 g) powdered sugar, sifted
- 2–3 tsp vanilla extract
- ¼ tsp fine sea salt
- 1–3 tbsp heavy cream or milk, as needed
Instructions: Step-by-Step Preparation
1. Prep Pans & Oven
- Preheat oven to 175°C / 350°F.
- Grease and line two 8- or 9-inch (20–23 cm) round pans:
- Line the bottom of the pan with parchment
- Lightly grease and flour the sides
2. Mix Dry Ingredients
In a medium bowl, whisk:
- Flour
- Cocoa powder
- Baking soda
- Salt
Set aside.
3. Cream Butter, Oil & Sugar
- In a large bowl, beat together:
- Softened butter
- Oil
- Sugar
- Beat on medium 3–4 minutes until pale and fluffy.
4. Add Eggs & Vanilla
- Add eggs one at a time, beating well and scraping the bowl after each.
- Mix in vanilla.
5. Add Buttermilk, Color & Vinegar
- In a measuring jug, combine:
- Buttermilk
- Red food coloring
- Vinegar
- Whisk until evenly colored.
6. Combine Wet & Dry
- Add dry ingredients to the butter mixture in 3 additions, alternating with the buttermilk mixture in 2 additions:
- Start and end with dry ingredients
- Mix on low speed until just combined after each addition.
- Scrape the bowl and gently fold to ensure no dry pockets.
- Batter should be smooth and richly red.
7. Bake the Cakes
- Divide batter evenly between prepared pans and smooth the tops.
- Bake 24–30 minutes, until:
- Tops spring back when lightly touched
- A toothpick comes out clean or with a few moist crumbs
- Cool in pans 10–15 minutes, then turn out onto a wire rack to cool completely.
8. Make the Cream Cheese Frosting
- In a large bowl, beat cream cheese and butter together until smooth and creamy (2–3 minutes).
- Gradually add powdered sugar, mixing on low to avoid a cloud, then increasing speed.
- Add vanilla and salt.
- Beat on medium-high 2–3 minutes until fluffy, adding cream/milk 1 tbsp at a time until frosting is smooth and spreadable but not runny.
9. Assemble the Red Velvet Cake
- Level the layers if domed, using a serrated knife.
- Place one layer on a cake stand or plate.
- Spread a generous layer of cream cheese frosting over the top.
- Add the second layer, flat side down.
- Apply a thin crumb coat of frosting over the whole cake; chill 20–30 minutes to set.
- Add a final thick coat of frosting, smoothing or swirling as desired.
- Optional:
- Crumble a small piece of trimmed cake and press crumbs around the base or sprinkle on top for a classic look.
How to Store It
- Refrigerator:
- Because of the cream cheese, store it covered for 4–5 days.
- Let slices sit at room temperature 20–30 minutes before serving.
- Room temperature:
- Up to 6–8 hours in a cool room for serving, then refrigerate.
Smart Ingredient Swaps
- No buttermilk?
- Use 1 cup milk + 1 tbsp lemon juice or vinegar, rest 5–10 minutes.
- Less food coloring:
- Use gel color—a small amount gives a deeper red.
- Cocoa tweak:
- Don’t add more cocoa than listed; too much dulls the red and changes the flavor.
- Gluten-free:
- Use a 1:1 gluten-free baking flour blend designed for cakes.
How to Serve It
- Classic celebration:
- Slices on dessert plates with a fork and a hot coffee or tea.
- Dessert plate:
- With a few fresh berries or a small scoop of vanilla ice cream.
- For holidays:
- Decorate with red and white sprinkles or simple piping for Christmas or Valentine’s Day.
Cultural Background & Personal Touches
Red velvet cake has roots in early 20th-century American baking and became iconic through Southern bakeries and the famous Waldorf-Astoria cake.
What makes it special:
- A subtle cocoa flavor—not a chocolate cake in disguise
- A fine, velvety crumb from buttermilk and a bit of acid
- A dramatic red color contrasted with snowy cream cheese frosting
This version leans classic:
- Traditional buttermilk + vinegar base
- Just enough cocoa for flavor
- Rich cream cheese frosting that’s tangy without being too sweet
Seasonal Variations
- Christmas:
- Decorate with crushed peppermint or red & green sprinkles.
- Valentine’s Day:
- Cut into heart shapes or top with chocolate-covered strawberries.
- Summer:
- Add fresh berries on top or between layers.
- Fall/Winter:
- Add a tiny pinch of cinnamon to the frosting for warmth.
Tried & Tested Feedback
From multiple bakes:
- “Exactly the red velvet I hoped for—moist, not too chocolatey.”
- “Frosting is perfectly tangy and smooth.”
- “The color and crumb are spot-on for a celebration cake.”
Freezer-Friendly Version
- Cake layers:
- Cool completely, wrap each in plastic wrap + foil.
- Freeze up to 2 months.
- Thaw at room temperature (still wrapped) before frosting.
- Frosted cake or slices:
- Chill until frosting is firm, wrap well, freeze up to 1 month.
- Thaw in the fridge, then bring to room temperature before serving.
Frequently Asked Questions
Why use both butter and oil?
- Butter = flavor, oil = moisture. Together they give a tender, flavorful crumb.
Why vinegar?
- Reacts with baking soda and buttermilk for a tender texture and helps brighten the red color.
Can I make cupcakes instead?
- Yes. Fill liners ⅔ full and bake at 175°C / 350°F for 18–22 minutes. Yields about 24 cupcakes.
Why is my cake not very red?
- Use enough coloring, and avoid too much cocoa. Gel food coloring gives a stronger color with less liquid.
Final Thoughts
This classic red velvet cake is elegant, nostalgic, and endlessly celebratory. With a soft, velvety crumb and generous layers of cream cheese frosting, it’s the kind of cake people remember and request again and again.
Classic Red Velvet Cake with Cream Cheese Frosting
Description
A classic red velvet cake with a soft, velvety crumb, subtle cocoa flavor, and rich cream cheese frosting. This striking layer cake is perfect for birthdays, holidays, and special occasions.
Ingredients
Instructions
- Preheat oven to 175°C / 350°F. Grease and line two 8- or 9-inch round cake pans with parchment; lightly flour the sides.
- In a bowl, whisk flour, cocoa powder, baking soda, and salt.
- In a large bowl, beat butter, oil, and sugar for 3–4 minutes until light and fluffy.
- Add eggs one at a time, beating well after each. Mix in vanilla.
- In a jug, whisk buttermilk, red food coloring, and vinegar.
- Add dry ingredients to the butter mixture in 3 additions, alternating with the buttermilk mixture in 2 additions, beginning and ending with dry. Mix on low until just combined.
- Divide batter between pans, smooth tops, and bake 24–30 minutes, until a toothpick comes out clean or with a few moist crumbs. Cool 10–15 minutes in pans, then turn out onto racks to cool completely.
- For frosting, beat cream cheese and butter until smooth. Gradually add powdered sugar, then vanilla and salt. Beat 2–3 minutes, adding cream/milk as needed for a smooth, spreadable consistency.
- Level cake layers if needed. Place one layer on a stand, spread frosting on top, then add second layer. Apply a thin crumb coat and chill 20–30 minutes.
- Add a final coat of frosting, smooth or swirl decoratively, and garnish with cake crumbs or sprinkles if desired. Slice and serve.
Notes
- Use gel coloring for a more intense red with less liquid.
Don’t overbake—start checking a couple of minutes early.
For cupcakes, bake 18–22 minutes; yields about 24.
Store frosted cake in the fridge and bring to room temperature before serving.